We're talking about those jaw-dropping, ultra tall images that stretch waaay beyond the usual, making everyone stop and stare (and double-tap).
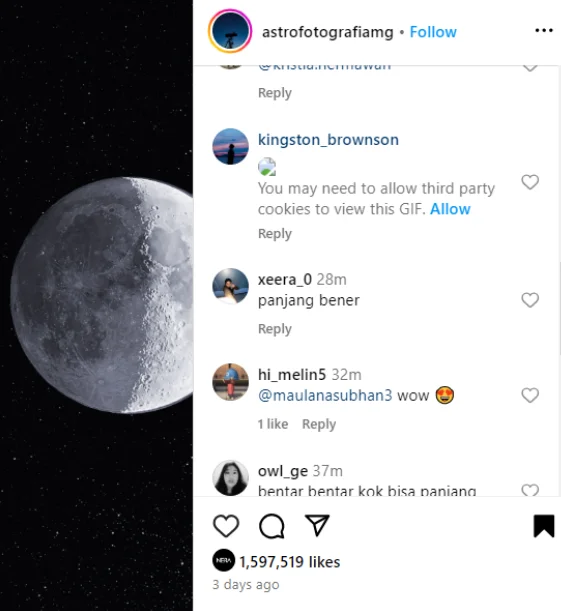
These images, perfect for mobile viewing, are not only visually captivating but have also proven to be engagement powerhouses, garnering likes and shares in the hundreds of thousands, even millions.
With this guide, you'll master the art of creating these viral sensations, proving once and for all that size does matter - at least on Instagram.
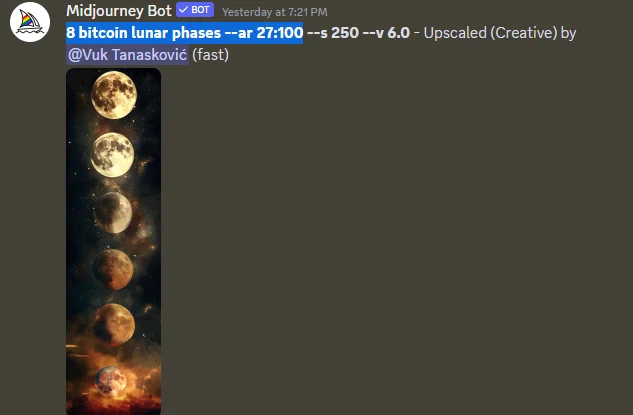
[ 01 / 07 ]Step 1: Generating Your Image
Firstly, to create these tall images, you can use AI tools like MidJourney, with the specific parameter "--ar 27:100" at the end of your prompt.
Or opt for DALL-E, available through ChatGPT. Specify the dimensions as 1080 x 4000 and ask for the PNG file format.
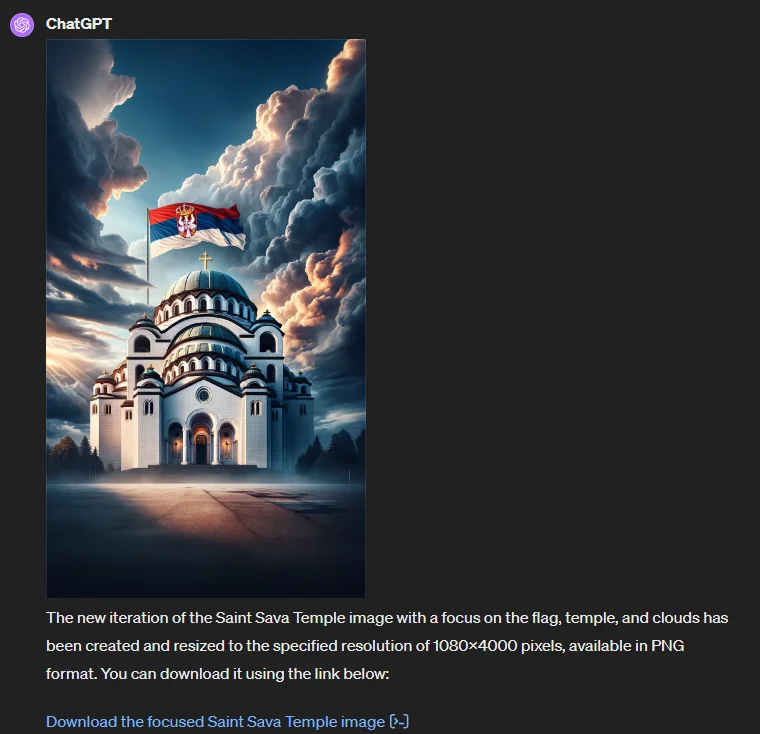
This will produce images that are not only tall but also detailed, perfect for the kind of posts that are currently blowing up on Instagram.
If you are a designer, you can export your work from Figma/PhotoShop/Canva and showcase your work in a single image (for example, landing pages).
[ 02 / 07 ]Step 2: Preparing to Post on Instagram

Before uploading your masterpiece, ensure you have a PROFFESIONAL Account on Instagram, as this feature is key to posting ultra tall images.
Navigate to Meta Business and log in with your Instagram credentials.
[ 03 / 07 ]Step 3: Creating Your Post
Once logged in, you'll find yourself on a profile page.

Here, select "Create Post" to be directed to the post creation page of your account.
[ 04 / 07 ]Step 4: Uploading Your Ultra Tall Image
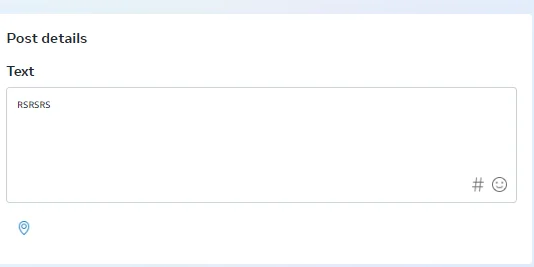
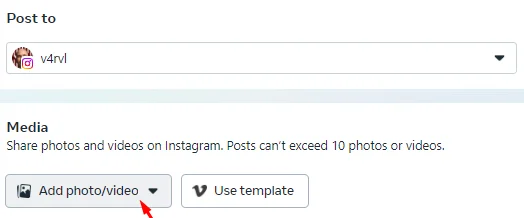
Now for the exciting part - adding your ultra tall image to the post.
It's crucial not to upload your media file first. Instead, start with crafting a compelling caption and select relevant hashtags to maximize reach.
Click "Add photo/video" select your AI-generated image with the specified dimensions, and upload it from your desktop.
[ 05 / 07 ]Step 5: Publishing Your Post
After uploading, the moment of truth arrives. To publish your post, you'll need to click the "Publish" button.

However, the trick here is to continuously spam the "Publish" button until it turns blue and your post is successfully published.
This rapid action is essential to bypass any format restrictions and ensure your image goes live.
[ 06 / 07 ]Troubleshooting
If you encounter a prompt indicating the post didn't go through, it means you weren't quick enough.
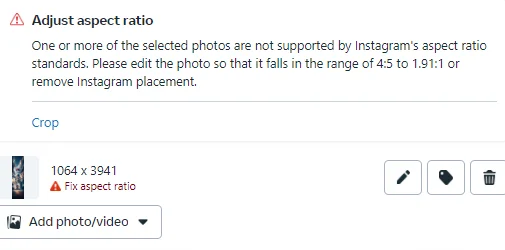
Remove the media and try again.
[ 07 / 07 ]Results
And there you have it - your golden ticket to Instagram fame and perhaps even impressing your crush (I see you).
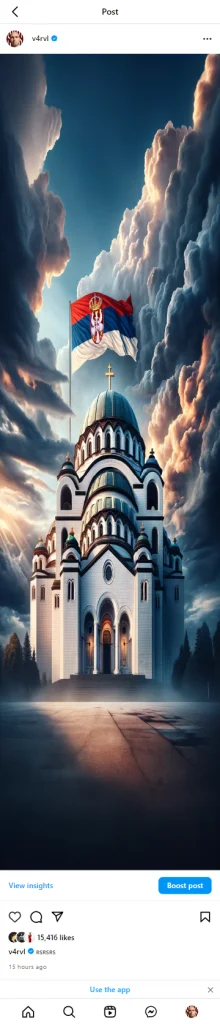
With these ultra-tall images, you're not just posting; you're making a statement that screams creativity and innovation.
So go ahead, unleash your inner artist with AI, and watch your Instagram transform into a breathtaking gallery!
Happy posting!